Risk Registers
Risk Register -- Creating, Viewing and Deleting
Overview
Users can add Risks to survey answers whenever applicable. These risks along with their details such as the name of the System it is applicable to, the severity of the risk and so forth are added to an overall risk register.
The risk register is used to monitor different risks affecting different systems within the business. The information obtained from the survey answers about various systems, processes, functions etc can be used to create an overall register of risks. With this register, monitored risks can dealt with based on their severity, type of impact, likelihood etc.
How to add a new Risk to the Risk Register
Log in to your Data Governance Tool account.
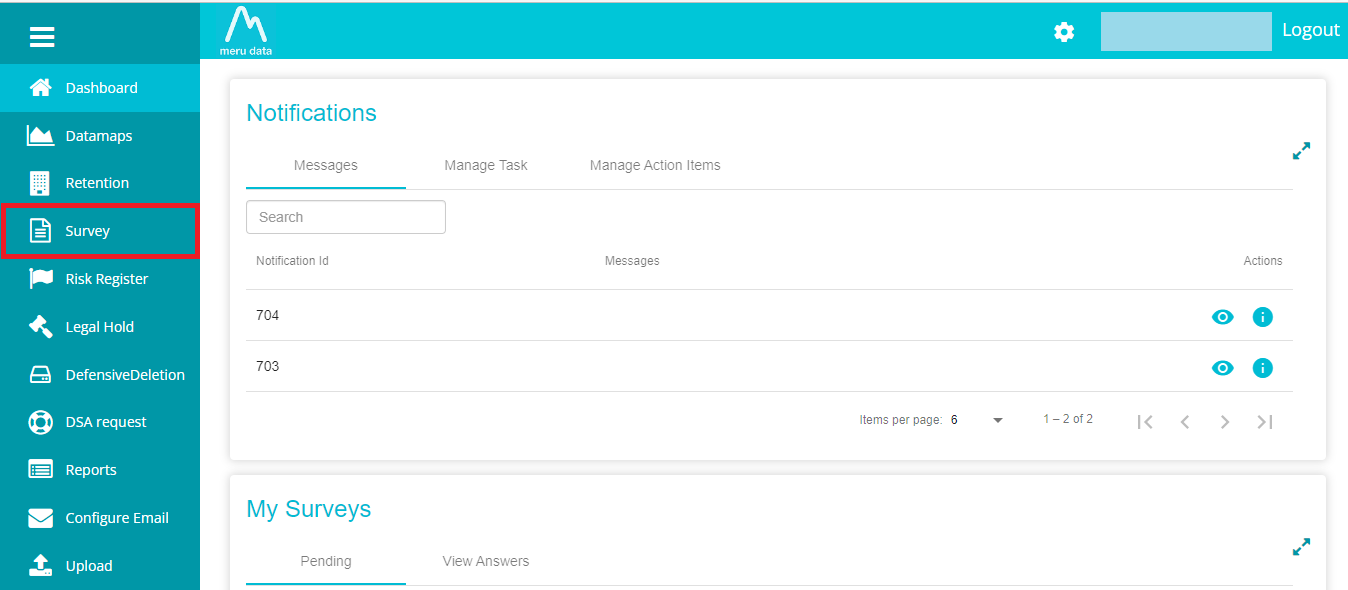
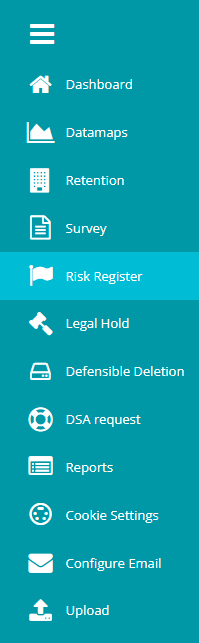
From the hamburger menu present on the top left corner of the Dashboard, click on Survey
On the Survey page, disable the Distribution View or click on "Yes" in "Is Answered"
Now, click the Analyse button against the survey whose answers with which you wish to create risks.
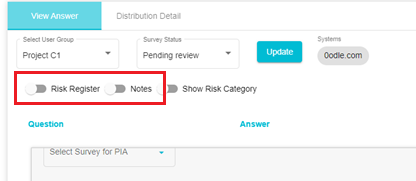
On the View Answer tab, from the Select-User Group drop-down menu, select one of the user groups to whom the survey was distributed

Here you can view the answers of the survey along with associated systems and any notes or risks added to them. The risk category, which is configured based on the survey score can also be seen here on enabling the Show Risk Category toggle Answers with Risks mapped to them will have a red flag present next to it as shown below.
To create new Risks, click on the toggle next to Risk Register To view/create Notes, click on the toggle next to Notes.
Once Risk Register view has been enabled, you will be able to configure the risks that are mapped to the answers.
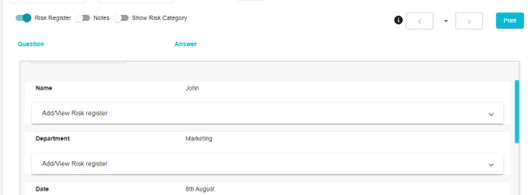
To add a new Risk, click on Add/View Risk Register
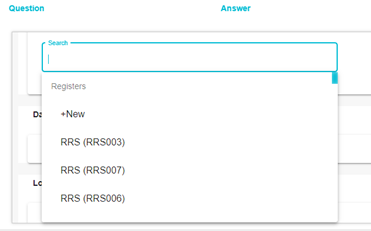
Search: With this, you can name/select the code of the risk you are creating.

You can either create a new risk by clicking +New Or you can choose to add another iteration of an existing risk by choosing it from the drop-down. You can search for the code of the risk you wish to create another iteration of by typing in the code in the Search box.
Creating a new iteration - from the drop-down menu, choose an existing risk to add another iteration of it. For example, you previously created a risk and added the code -- RiskCC. If you select RiskCC from the drop, then the code of the risk being configured will be RiskCC1. This code name will be autogenerated. If the code you selected from the menu is PIA256, then the code of the risk being configured will be PIA257. In another case, if the code selected is PIA, and PIA1, PIA2 and PIA3 already exist, then the code of the new risk being configured will be PIA4. The risk being configured, in this case, RiskCC2 will have all the configurations of the risk selected from the menu (here RiskCC1) already set. However, the configurations can be edited.

Select +New to create a new risk altogether. The risk configuration tab will open

Risk Title/Name: Type in a name for the Risk you are creating.
Code: Create a new code or make changes to the auto-generated code if needed. Unique codes are accepted as can be seen by the green tick beside the code value.

If an existing code value is entered here, a red mark will appear, and the code will have to be changed to a unique code value

Risk Status: Here you can update the status of the risk

System Name: From the drop-down, select the Systems to which you want the Risk mapped. The System on the drop-down menu will be the Systems associated with the Survey Group. In other words, you can only map the risk to Systems that were selected while creating the survey group. The Risks mapped to Systems will be visible on the DataMap. To view the Risks, go the System in question on the DataMaps module, on the System Details page, under the Tab -- Risk Mapping, the Risk Register Field will be available. Here you can view the risks mapped to this system.\ DataMap > System Names > System > System Details > Risk Mapping > Risk Registers
Click the Risk to view its details on the System Details page
Severity Value: Set the severity value of the risk. The higher the number, the more severe the risk
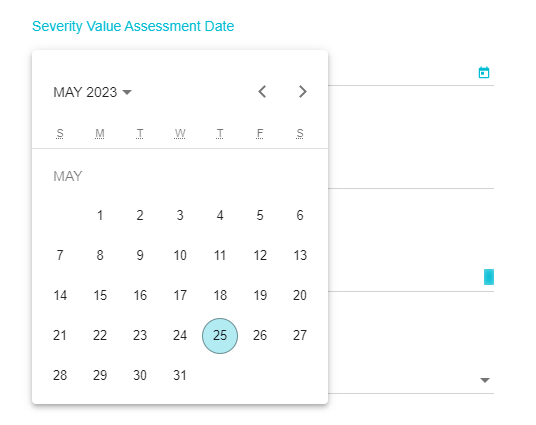
Severity Value Assessment Date: Select the date on which the risk severity was assessed.
Risk Type: From the drop-down select the nature of the risk
Risk owner: Select a user to whom the risk is to be assigned
Risk Description: Provide a brief about the details of the risk here.
Treatment Status: From the drop-down, select the treatment plan for the risk
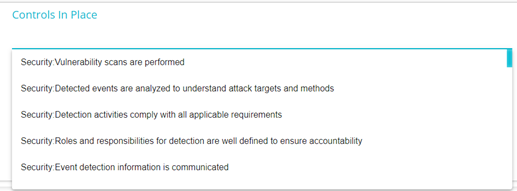
Controls in place: Here you can enter the measures that are currently in place to combat/prevent such risks.
Likelihood: Set the likelihood of the risk occurring.
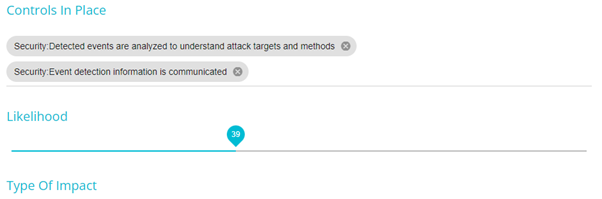
Type of Impact: Provide the type of impact anticipated due to the risk identified
Maximum Financial Impact: Enter the expected financial impact of the risk.
Once the configuration has been completed, Click Save

Once the risk configuration has been saved, the following message will appear

Viewing the Risk Register
All risks created can be viewed and accessed from the Risk Register. The Risk Register provides a comprehensive view of all risks and their details in the form of a heatmap as well as in a tabular form.
From the hamburger menu, click on Risk Register
By default, the Risk Register page will display the risks in the form of a Heatmap graph.
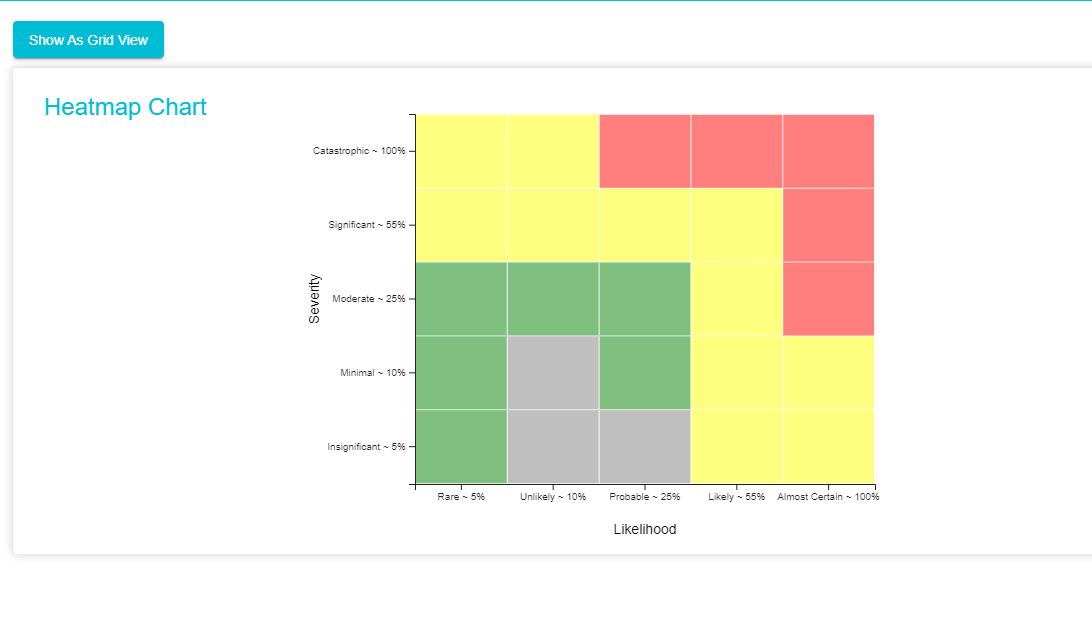
Hover over the coloured blocks to see the risks included in that block. You can obtain the likelihood of the risk occurring and the severity of the risk by viewing this graph
Color Representation:
Red -- High Severity,
Yellow - Moderate,
Green -- Low Severity,
Grey -- None/ Not Mentioned.
Note: Clicking on any block will take you to the tabular view of the risks included in that block.
Grid View -- Risk Register
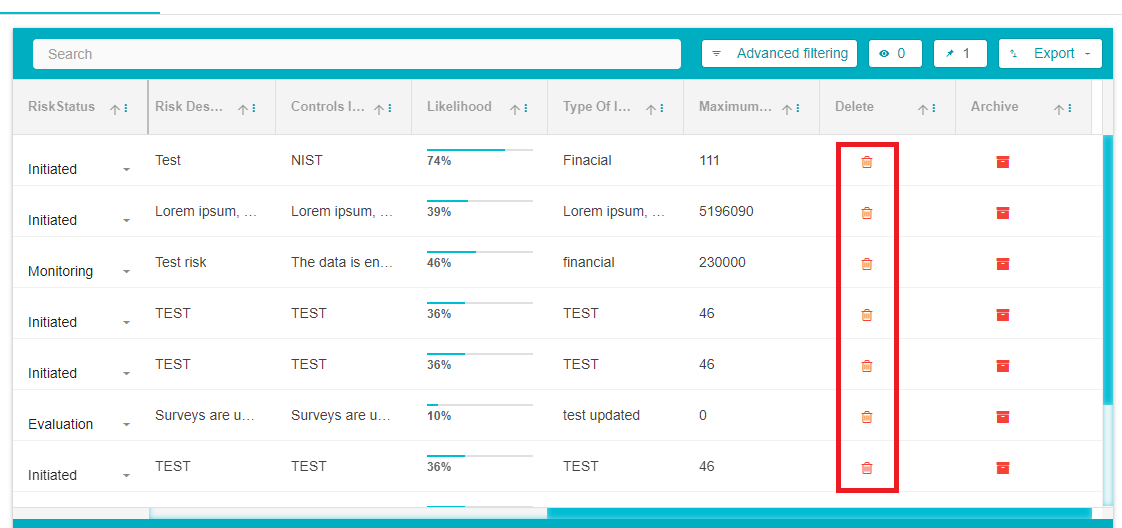
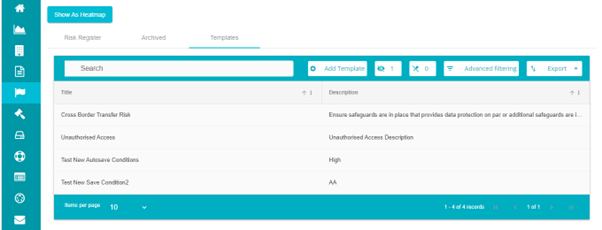
Click on Show as Grid View to access the risks in a tabular form. Here you can view all the details of the risks such as their codes, owners etc.
Risk templates should be available in the grid here
Once a risk has been created, the Risk Status of that risk will automatically be displayed as Initiated. The status of the risk can be changed as required by making a selection from the drop-down menu
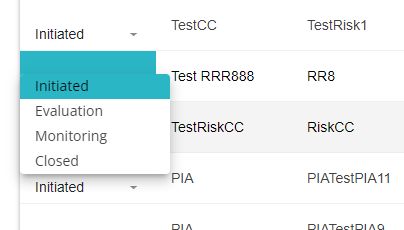
*Note: If Closed is selected as the status of the risk, then that risk will be moved to the Archived table as the per the configuration set on the Delete Configuration page. In other words, if the configuration is set for 2 years, any risks with the status -- Closed, will be moved to the Archived table after 2 years from the date of closing.*
Click on risk register name to make modifications to it. Once you click on the risk, the following page will open from where you can edit/update the risk.
Click Save Changes to update the edits to the risk
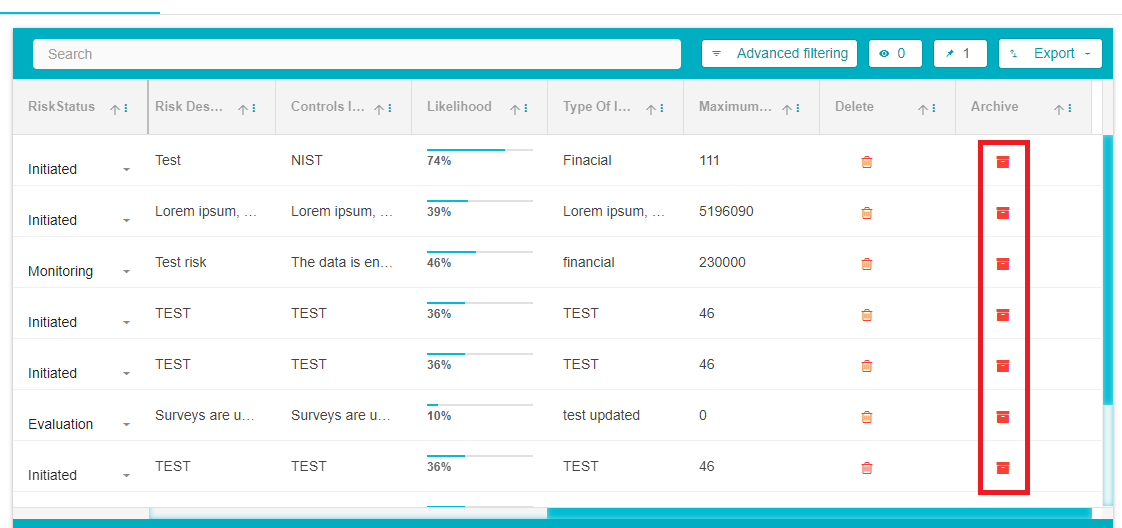
Risks can be deleted by clicking the Delete icon on the row of the risk. Scroll to the right of the table to find the Delete icon.
Click on the Survey Group field to go to the View Answer page of that survey
Risks can be archived by clicking the Archive icon on the row of the risk. Scroll to the right of the table to find the Archive icon.
Archived Risks
Click on Archived to view the risks that have been archived. This can happen either by manually clicking the Archive button on the row of the risk or by setting the status of the risk to Closed. Depending on the configuration time, risks with the status Closed will automatically move to the Archived table.
Here all the details of the archived risks will be visible, however no edits can be made to the risk from Archived table.
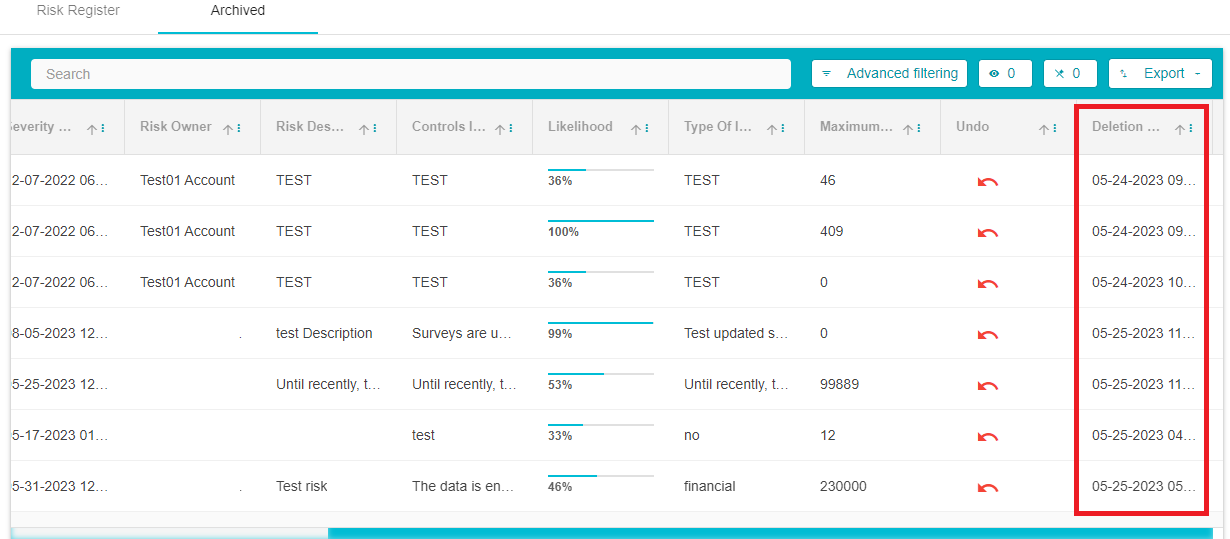
*Note: Risks from the Archived table will be permanently deleted after a certain* period of time. This period of time is determined by the configuration made on the Delete Configuration page. If for example, the configuration is set to 3 years, then the archived risks will be deleted automatically after being present on the Archived table for 3 years.
The configuration to delete depends on the Deletion Date of the risk. The Deletion Date is the date on which the risk was moved to the Archived table. The Deletion Date can be found by scrolling to the right of the Archived Table
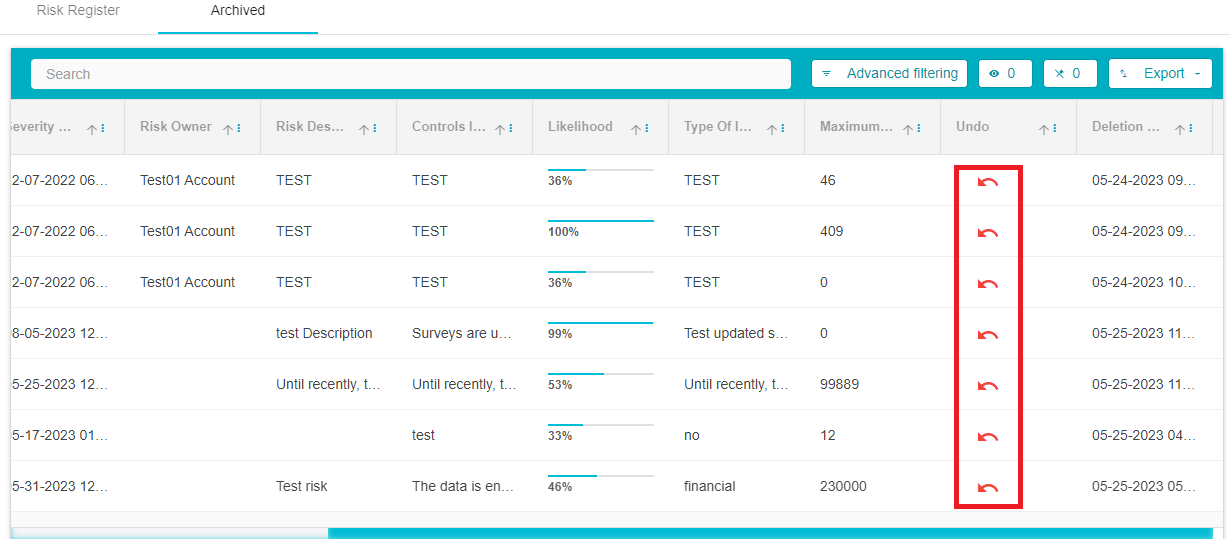
Risks can be made active again/ moved to the Risk Register table by clicking the Undo icon on the row of that risk. The Undo icon can be found by scrolling to the right of the Archived Table.
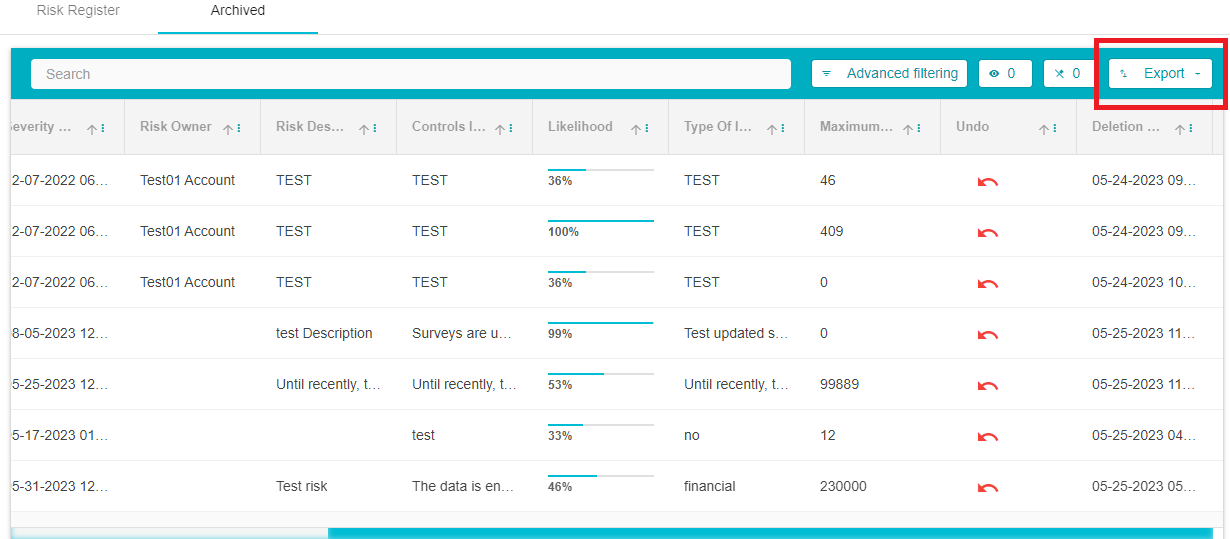
The contents of both tables -- Risk Register and Archived can be exported in an Excel or CSV format by clicking the Export button found at the top right of the table
Templates
Risk templates can be created here. Depending on the survey answers received, these templates will be automatically appended to survey answers or shown as a suggestion based on the configuration made here.
To create a new template:
Click on the Add Template button
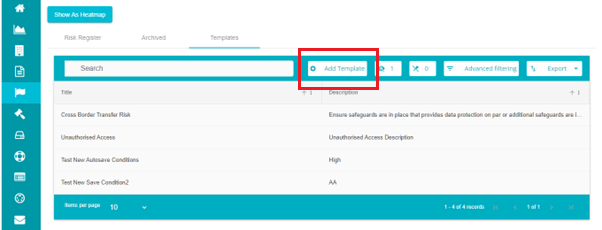
The template configuration page will open

Here you can configure the risk by adding the Name, Code, Risk Type, Treatment status etc as you did on the View Answers page.
Once the configuration is made, scroll down to the Automatic Add Criteria Section
Risk Category: The risk category is created based on the score calculated on the Survey Score Calculation page. The survey answer can be categorized as High, Moderate risk or Low risk. In this field, select one of the above risk categories. On doing so, this risk template will be added to or shown as a suggested risk for the answers that with the risk category selected here.
a. Answer: Enter the value of an answer here. If the survey answer value matches the value entered here, then the risk template will be added to or shown as a suggested risk for that answer.
b. Answer Match Condition: From the drop-down, select the operation.
c. Answer Match Values: Here, you can enter the Values and are required to press Enter to add.
Save Condition: Here you can configure whether the risk template gets added automatically to the answers that satisfy the conditions above or whether they will be displayed as suggestions. (Add screenshots from view answer page for each option)
None: On clicking this option, the template gets saved and shown as a suggestion
All criteria satisfy: On clicking this option, the template gets saved and added to the answer automatically.
Any criteria satisfy: On clicking this option, the template gets added if any one of the criteria (Risk Category/Answer) matches the actual survey answer.
You can delete the Template by clicking on the Delete Button.
Delete Configuration
The Delete Configuration page is used for Risks under 2 situations
- To determine when a risk marked as closed will move from the Risk Register Table to the Archived Table
- To determine when the risk present on the Archived table will be permanently deleted.
To set the Delete Configuration, follow these steps
Click on the Settings icon present on the top of any screen on Data Governance Tool

From the Settings drop-down, select Delete Configuration
The Delete Configuration page will open
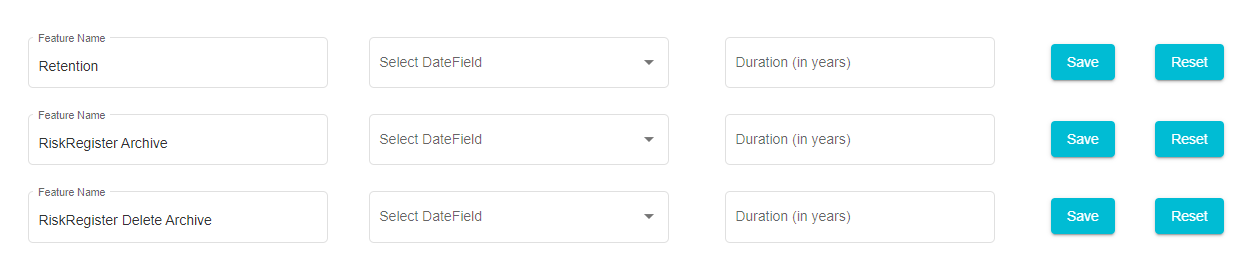
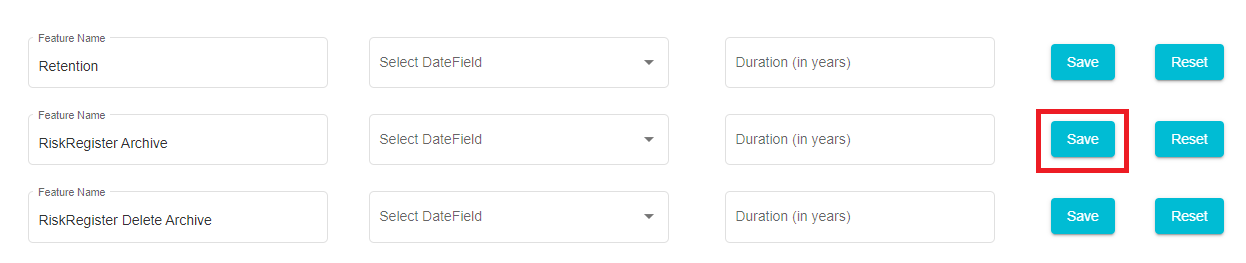
Risk Register Archive: Here you can configure when the risks marked Closed (status set to Closed) will be moved to the Archived table. Type, in the Duration field, the number of years as per your requirement. If the number you typed in the Duration field is 2, then risks marked closed will move to the Archived table after 2 years from the date on which it was marked closed.
Once the configuration has been made, Click the Save button against that configuration
Risk Register Delete Archive: Here you can configure when the risks present on the Archived table will be permanently deleted. The delete config duration will be counted from the Deletion Date. The Deletion Date is the date on which the risk was moved to the Archived table. For example, If the number you typed in the Duration field is 4, then the risks on the Archived table will be permanently deleted after 4 years from the date on which it was moved to the Archive table.

Once the configuration has been made, Click the Save button against that configuration